Test Method
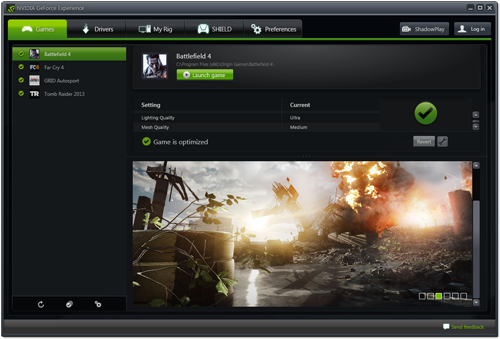
Our philosophy when it comes to graphics card testing is simple. We want to show the experience an average gamer will get from their hardware. Most gamers would rather start their game and go, rather than spend the next 2 hours finding out the difference in performance between subtle settings, and that’s why we believe Geforce Experience is an excellent tool.

For this reason, with Nvidia based graphics cards we’ll be using the recommended settings in Geforce Experience to do our tests, as we feel most gamers will be using this feature for the convenience.
Testing will be done in 2 categories. Real Gameplay using Battlefield 4, FarCry 4, Tomb Raider and Grid Autosport. Average framerate is calculated with Fraps, using a 300 second benchmark.
We’ll also be using several synthetic benchmarks. 3DMark, FurMark and Catzilla were run, as well as the benchmark tests within Tomb Raider and Grid Autosport.
Since overclocking is something most people will do, we’ll run each set of tests with stock settings, with the GPU overlocked, and then with the GPU and memory both overclocked.
Power draw will be recorded with a Kill-a-watt for each scenario at idle, and at load.
Test System
All testing is done on the same computer. For the motherboard we have an Asus Z87-WS with an Intel Core i5-4670K and 2x4GB Corsair Vengeance Pro DDR3-1600. Windows 7 is installed on a Sandisk 128GB SSD and games are installed on a second Sandisk 128GB SSD. Powering the system is a Corsair RM850 modular power supply.
Overclocking
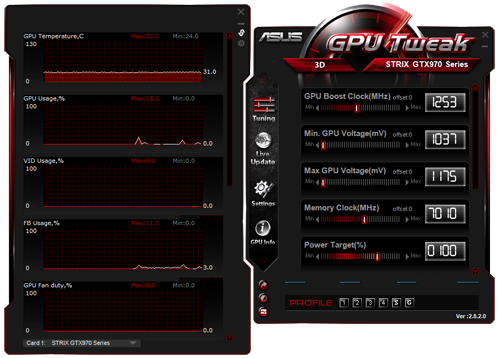
GPU Tweak 2.8.2.0 is the software we used to overclock this card. The software allows you to adjust the GPU Boost clock, Power Target, Memory clock, and a host of other adjustments to help you get the most out of your card.

As with any recent Geforce GPU, the first thing you should always do when starting to overclock is raise the Power Target as high as possible. In many cases, simply by making this one adjustment, a Maxwell based GPU will often raise the maximum boost clock already, resulting in higher performance at load.

The next step is the GPU clock. While it can be tempting to make large adjustments, even if others have reached certain clock speeds on the same card, you should always take care. Using 10Mhz increments we were able to reach a +70Mhz offset, resulting in a 1323Mhz boost clock setting. Anything beyond that, left us with poorer benchmark results.
Once we had our max GPU clock speed set, we could focus our time on the memory clock. Memory is usually much more forgiving, and has much more potential for overclocking, so for that reason we started with 50Mhz increments.
The memory on this card started giving us trouble at 550Mhz, so it was brought back down to 500Mhz and then increased by 5Mhz at a time, ultimately reaching a peak stable offset of +530Mhz.
Considering the stock clock speeds are already overclocked considerably over the reference speeds, getting this much more out of both the GPU and Memory is satisfying. Now let’s see if it improved our results.


