Santa exists, because the day after I made my wishlist, Art Academy: Lessons for Everyone! appeared in my life somehow, despite never really seeing it in any stores.
It’s weird doing a “BASELine” for an art game because there’s no way to completely finish the game, and the point to drawing or doing anything creative is that you are constantly evolving your skills. But I have a plan for how to do this, and I hope you’ll be along for the ride.
I’ll split this series into three parts:
- BASELine: In which I talk about how weird it is to call this a BASELine and also dive into the game, intro lessons, and state overall first impression.
- WIP*: In which I go into fine tuned details of the tools, as well as compare to real life tools, and do some advanced lessons.
- Full Review: In which I post a final product of a piece I finished after all the lessons, and talk about the tools I used, as well as honest thoughts overall and appropriate learning levels from beginners to advanced learners.
All with some wholesome original pieces of my own — some good, others ridiculous.
*WIP means “Work In Progress”, a term used a lot in creative projects.
When I launched the software on my 3DS, I honestly had little expectations. I thought it would have been Photoshop Lite on a smaller handheld scale — but from playing the first few introductory lessons, it became quickly evident to me that there’s way more depth to this game than I thought.
With all the lessons led by Vince and his little dog Bacon, I popped my cherry with the first introductory lesson… by learning to paint a cherry.
This is, by no means, an incredibly complex rendering but I want to bring up some key points I was incredibly impressed by just this first intro lesson:
- This isn’t Photoshop Lite. There is no quick undo button; you have to live with whatever you’ve put down and problem solve how to fix your drawing.
- Blending your gradients actually takes time — just like how it would in actual painting.
- You learn very quickly the different brush sets and what kind of effects you can achieve with each of them, as well as their purpose.
- Art history, colour theory, and lighting & shading concepts are introduced in small steps. Then, you actively use the techniques once the explanation is complete, which means practice and retention.
Further introductory lessons also included working with varying pencil types and their differences (2B, HB, 2H), direction of light, and adding tints and shades to your colour palette, just to name a few.
What I appreciate in particular is the ability to save your artwork in a digital portfolio of sorts, where you can display them in a 3D gallery in-game. Even better, you can export all of the images you’ve done into the Photo Gallery on your 3DS, as well as to your Nintendo 3DS’s SD card. Local sharing across SpotPass is a thing, too, so you can share what you’ve created with others.
There are a vast number of intro lessons, as well as mini lessons in between to learn specifically about a particular technique rather than implementing it into a grander scope.
You don’t also have to take the lessons, as there’s also a Free Draw area in this game, where you can just fool around with the tools you’ve used before — or a Quick Draw, where you are given access to all of the tools in the game and letting you go to town.

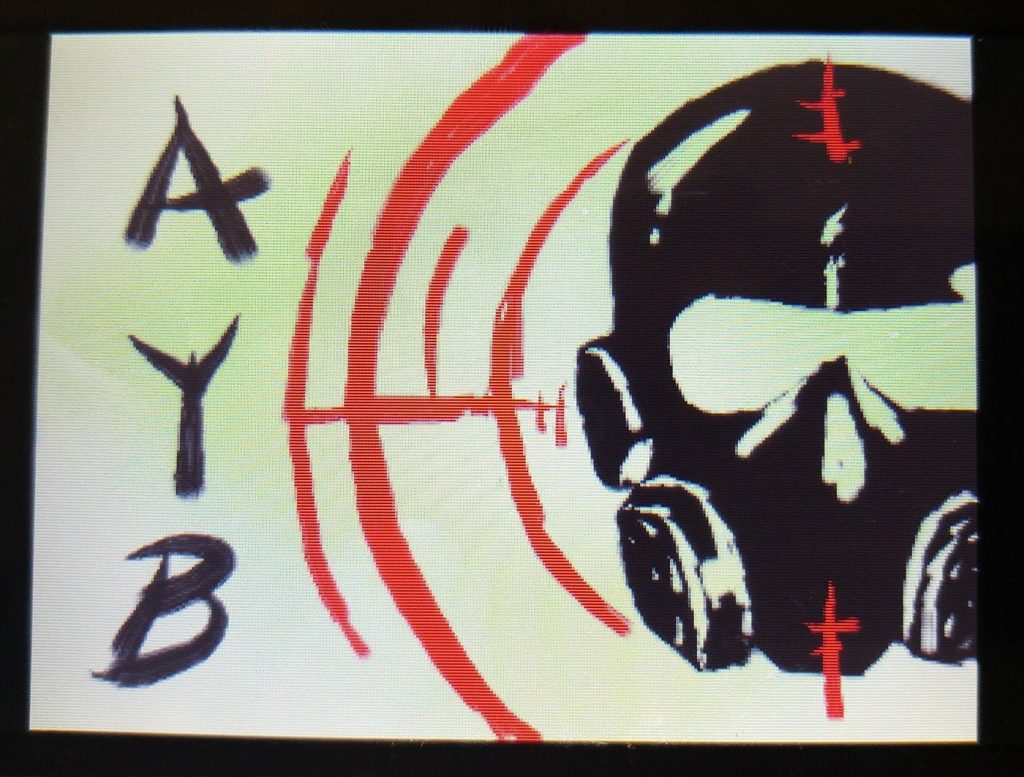
Naturally, I had to pay homage.
Alright. Time to check out these advanced lessons. See you in the next installment! ♥
Kate is a contributor and a Graphic Designer for AYBOnline, and producer on the Level 1 Scrubs podcast. She is no stranger to painting and hopes to stream some of her own painting projects soon. Her opinions are her own. Feel free to follow on Twitter and her Facebook page!


