I’ve never been able to edit video. I’ve tried on numerous occasions to sit down and try. I always find myself overwhelmed and confused. Despite my desire to make video, I just never seem to be able to get past this barrier. That’s why I was excited to hear that GTA 5 on PC included an integrated video editor. Grand Theft Auto has been the source of many hours of entertainment and this might just push me to figure it out how to share my gameplay.
Rockstar has a tendency to go over the top with everything they do. Not only is GTA5 an amazing open world game, there are tons of mini games and details you would never expect in a game. You can play golf, or darts. You can take a taxi ride. You can even go watch a movie. So when Rockstar Editor was announced I knew this was going to be good. Considering I’ve already owned both Xbox versions of GTA 5, the game itself is not new to me. I think for this reason, the editor is my favorite feature.
Naturally, as soon as I fired up the game I started recording everything I was doing with hopes of finding a perfect action sequence for my first video. Thankfully, recording has been made to be incredibly easy. Simply press F1 at any given time and the game will start to record everything you do.
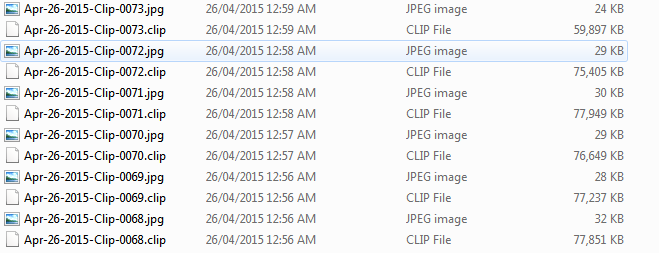
Interestingly, it’s never actually recording footage. This is how the editor allows you to change camera angles. The sequence of events is recorded, and is played back in the game engine. Clips are recorded in small blocks. If there’s a lot of action they will be around 30 seconds, but if not much is happening the clips can be as long as 90 seconds. File sizes vary, but they seem to average between 75MB and 100MB each.
Adding recorded clips to the timeline couldn’t be simpler. Click add clip and select the desired file. For adding additional clips in a sequence it’s made easy by marking the list with a paperclip icon. Any clip in a timeline already is marked this way. If you have multiple projects you’ll have to keep track of this manually.

Editing is done one clip at a time. There’s no indication of any way to combine clips before editing. This can be bothersome when dealing with consecutive clips that have had camera angle changes. Unless using one of the pre-sets, it can be hard to match the camera angles from file to file if any changes are done after the next marker is already set. Playing back edited videos is also broken up clip by clip, with a Rockstar logo displayed every 30 – 90 seconds as the next file loads. This creates difficulty seeing how the video will flow once rendered.

I’ve mentioned camera angles a couple times already. This is by far my favorite feature, but it isn’t without limitations. There are a number of pre-set camera angles, Front, back, both sides, and a top down view like the classic GTA games.
You can also select free look camera. This mode offers the most freedom. You can set your camera to be anywhere within a certain distance from your avatar. You can either have the camera follow the player or stay stationary. There’s options to have the focus tethered to a number of predefined targets, or not tethered at all.
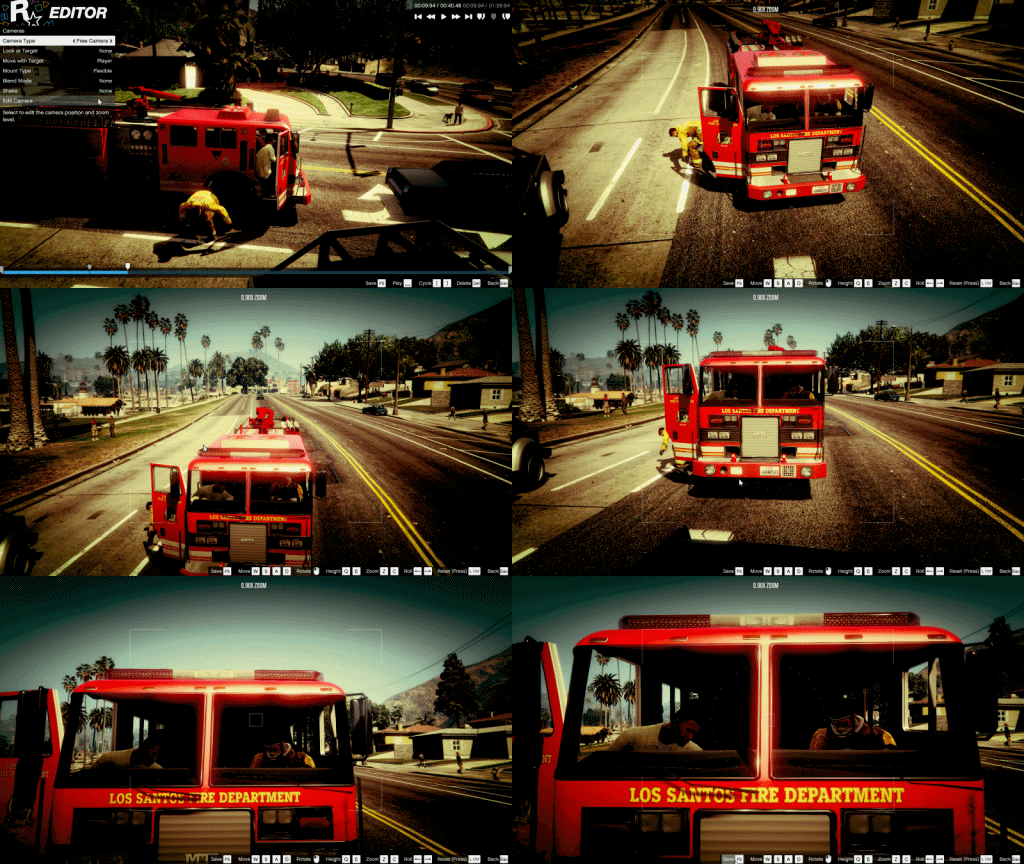
You can get really creative if you have the inclination. The options are pretty robust. In adition to all the camera angle choices, you can also select the target that the camera will focus on. Most of the time you’ll only have 1 or 2 options, but sometimes you find a good spot with lots of bystanders and passerby. The firetruck stealing scene had more than a dozen. You can make the camera focus on them, or follow them for some pretty interesting clips.
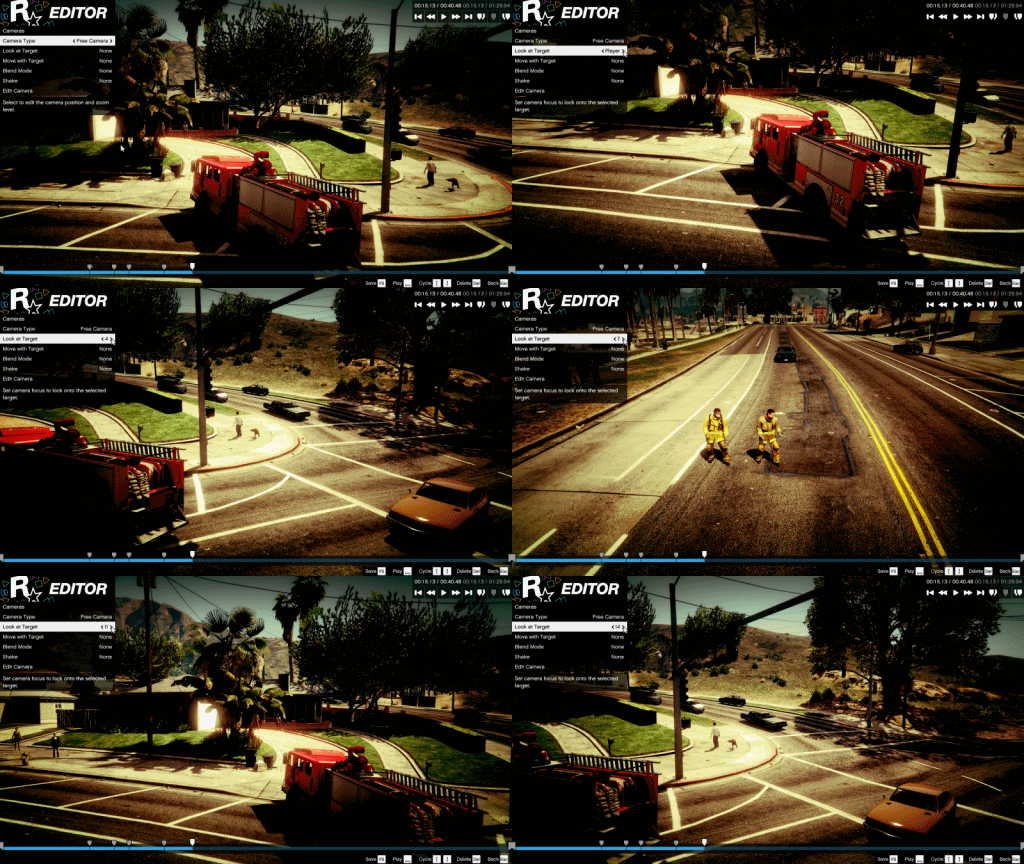
I found myself spending the majority of my time finding the exact camera angle I was looking for, and then being let down by the range it offered. I often wanted a camera at an obscure angle and have a vehicle drive past the scene into the distance. Only to find out that the camera would switch itself before the vehicle left the scene.
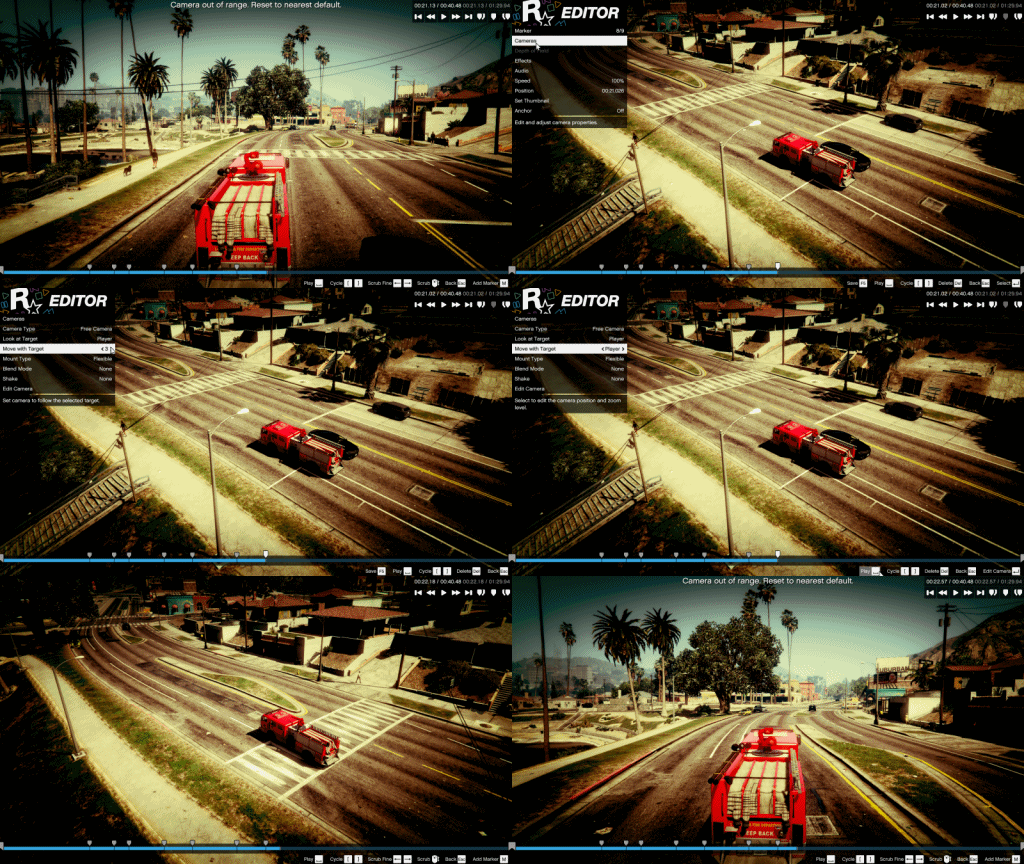
On the other hand, it made for some impressive views of exploding cars close up.
So far I haven’t dabbled much with the visual effects, but that’s not because it’s hard to do. On the contrary you can easily add a filter to change the image. It’s recommended that you do this first, however. If you wait until you have a bunch of markers, it’s necessary to change the effect in each segment. The whole clip will be changed if you apply the filter before breaking the clip up. Trust me, I learned this the hard way.
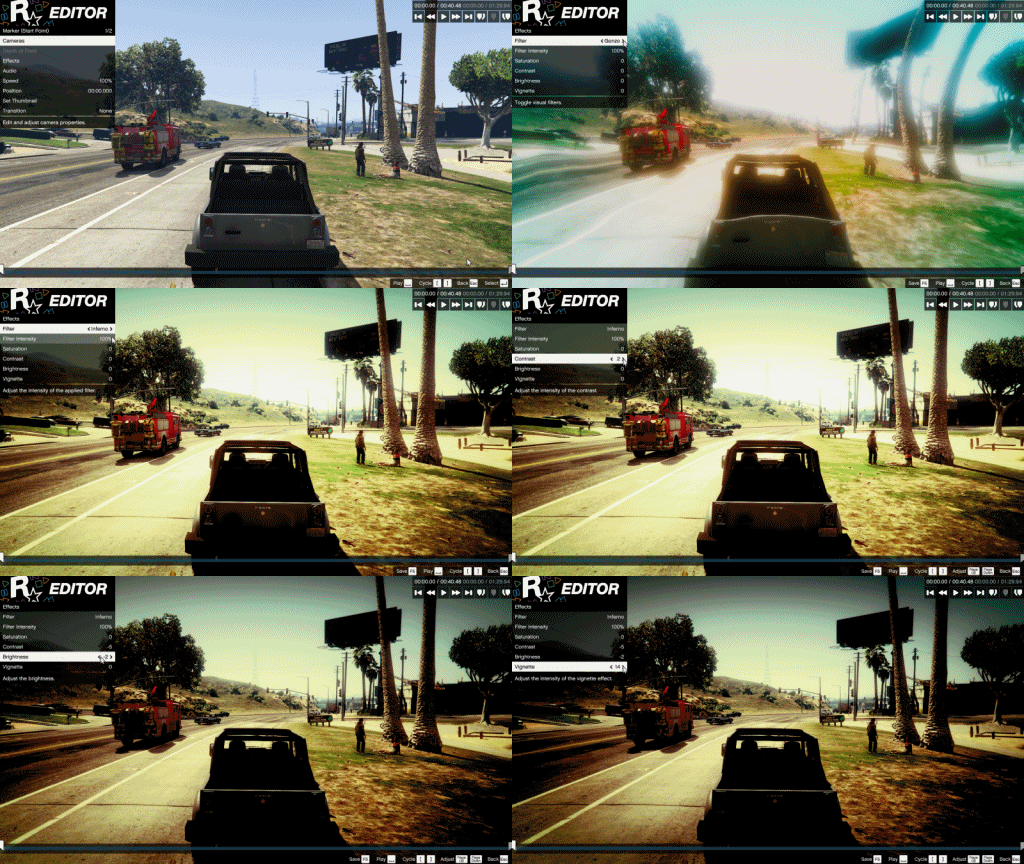
Markers are simple to use as well. It seems Rockstar really went out of their way to make this feature easy for everyone to make use of. To place a marker simply scrub through the video using the scroll wheel or your arrow keys until you’re positioned in the desired marker point, then select the marker button or hit M.

Once a marker is placed, you can change the view and effects beyond that point. Simply add additional markers to change the view again. I’ve seen no evidence of a limit on number of markers per clip, however it does seem to be harder on your PC the more you have.
Rockstar has also done a very good job in creating a wiki to help you along the way. If you get stuck with anything, all the answers you could ever need are listed right on their webpage.
There’s still plenty for me to learn, but Hot Damn, I actually edited a video clip. It’s nothing special, and it could certainly use some more work, but I actually created this clip without getting overwhelmed. That says a lot in my books. If you haven’t have a chance to try out Rockstar Editor I highly encourage it. You can make some pretty impressive videos, or simply use it for a better angle of your explosions!
Kevin Carbotte is a Content Editor for AYBonline. He knows a little about a lot, and a lot about a little. The opinions in his columns are his and his alone, but you are free to have them.

