Setup & Configuration
The first step in the manual sends you to the CrossHair website, www.reasnow.com, to download the software needed to configure the device. The website is easy enough to navigate and the software is a simple exe that’s packaged in a .RAR file. Most of us tech-minded people will already have WinRAR installed on our machines, but it just so happened that I never reinstalled it on mine after the last windows installation. A minor inconvenience, but one that could have been easily avoided had the software been packaged in a .zip file, or something that Windows natively supports. Regardless, I got the appropriate software to extract the CrossHair configuration tool and moved forward.
The tool is very straightforward and requires the CrossHair to be plugged into the PC via USB cable. Once plugged in, a user will select the CrossHair device that they wish to configure and then, through the simple GUI, select a game profile or multiple game profiles to load onto the device. There is also a setting that tells the CrossHair which profile to load when it starts up. From here, a user can open the gaming profile and edit the controls and adjust the sensitivities. Also worth noting is a hotkey to swap between gaming profiles on the fly, a handy feature if you’re the type of gamer who flips between games a bunch of times in a gaming session.
The next step, while we’re still on the PC, is to configure a profile on the mouse to have the DPI setting cranked to the absolute max. Luckily, my G9x has onboard memory for this sort of thing and that’s exactly what the CrossHair requires. This is to help artificially boost the sensitivity in a console game, as such settings in console games are often quite low when compared to what the average PC gamer is used to. I will need to increase the sensitivity in game as well, but more on that later.
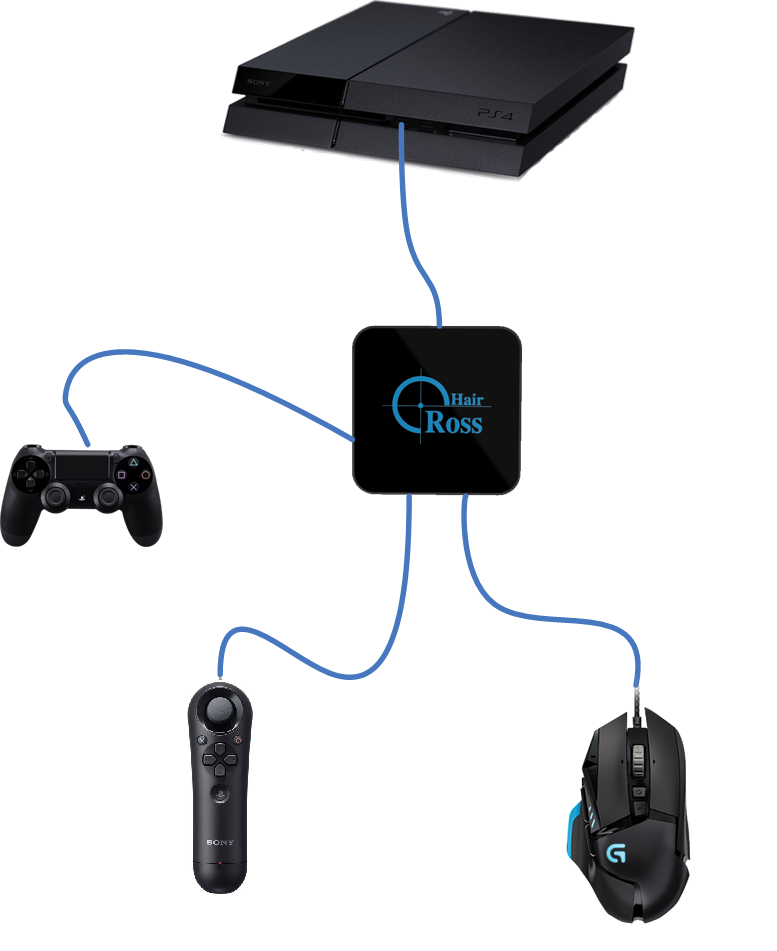
First step is to plug in all the devices. If you’re playing on an Xbox One, you must plug an Xbox One controller into port 1 on the device. Same goes for the PlayStation with a PlayStation controller. Next you plug in your Keyboard and Mouse into ports 2 and 3. Or you could plug in another controller into port 2. But for this review, we will be sticking to a keyboard and mouse.
Plugging the device in to the console, however, I noticed that the USB port of which it was plugged into on the Xbox One seemed to dictate whether or not the device would power up and work. After flipping through different USB ports on the console I found that the USB port on the side of the Xbox One worked. (Not gonna lie, when the logo appeared on the device, I thought the device was called “Hair Ross”. It’s a very peculiar logo that could use a redesign, but that’s just my opinion.) Anyways, the CrossHair lit up, sent power to all my input devices, and immediately I was able to use the keyboard to navigate the Xbox One menus. One thing worth noting here, while the keyboard and the mouse were active and functional, the controller itself was also functional, unlike in other similar products. Overall, the setup process was painfully easy, or so I was thinking at the time…